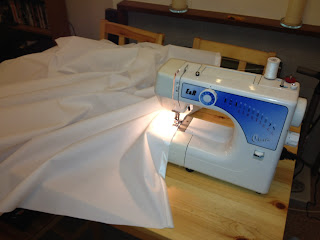
Sorry this one took a while to write up, I've got no excuses as I was on holiday and doing very little! To make the cockpit tent I decided on a design first. I had several choices to make here, one was using GRP rods to give a rounded shape. I may still do this longer term but chose to go ahead without for now as it seemed roomy enough without, and stowing them would be a problem since they would either need ferrules or be 3m in length. I then made the decision to fit over the boom, using it as a support. This is not just easier but also practical. To fit under the boom I would have needed to sew in some kind of ties to attach it to the bottom of the boom which would almost certainly have introduced leaks, but also would have meant I would lose the boom inside as a wet locker for hanging oilskins on inside the tent.
Once the design was decided upon the rest was easy. I measured the boom from the end at the topping lift forward to the first lazy jack on the stackpack. Since this cannot be removed easily the tent has to go around it and therefore this is where a split needs to start.
Next,I measured forward from the lazy jack to the front of the open hatch below. I could easily have gone further and may make another in future which goes all the way to the mast but I decided this would make it even harder to get on or off the boat. You'll notice I have photos of the measurements, this is not because I took them for the blog but because it's a lot easier to do with a mobile phone camera than keeping bits of paper. This way I also have context for the measurements and can actually see where I measured to.
The tent ended up the shape in this picture. It's not to scale of course, but this shows the general idea. I got lucky that the fabric was 150cm wide so two widths fits perfectly. The dashed line in the middle is the join in the sheets, and this was the first job to give me a double width sheet to work with. I spent some time making sure this was a neat join and tucked the edges of the fabric in in both directions, this is harder than it sounds but is shown in the following side view picture. I used venture tape (double sided tape) to hold it together and sewed two lines where the red dashes are.
As you can see, this join stopped for the lazy jack where I separated the sides and sewed hems on, again doing a double fold and using venture tape.
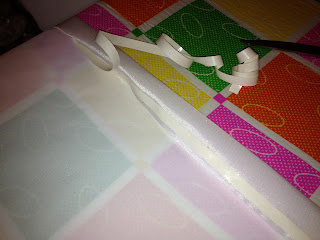
The venture tape gets stuck along the edje of the fabric and then a cool iron (as hot as the fabric will take, not very hot at all for rip stop nylon) is used to set a nice crease. Finally, the venture tape is folded over and the backing removed to stick it down. Don't try to remove the backing beforehand or you'll end up in a mess. Remove it in sections by holding the fabric in place and pulling the backing out from under your hand so that you can guarantee that section is in the correct place.
Once the seam is stuck down, just run a line of sewing down it. I then did a second line to make it a little more durable and help keep the shape. When sewing with sticky tape you may need to clean both the needly and foot regularly to remove gunk which gets pulled through while sewing.
When all of the seams are in place, use some eyelets (hipkiss kits are ideal) to put the shockcord through for fastening. I used 5mm shockcord in black with 5mm black eyelets and black hooks as they contrast nicely with the bright white of the tent fabric. In all this project cost under £20 although I was still using up the venture tape from the stackpack project. Be sure to use UV resist thread, I found some polyester stuff in Fabricland which seems to fit the bill but time will tell.


I think that's the very stuff for a cheap/temporary boom cover... thanks for the idea...
ReplyDeleteI wouldn't use it for a boom cover (as in the bit covering the sail) but it's great for the boom tent. The thicker stuff I used on the chart pack would work if you're trying to save cash but acrylic canvas is the only way to go longer term.
ReplyDelete